badai.xyz
Installing and configuring dead man’s trigger on Linux
In this article, I’ll be showing the installing and configuration process of ldms. Ldms is an anti-forensics program, a dead man’s switch. The purpose of this article is to show off its features and get more awareness of the existence of this program.
So what are dead man’s switches? This concept may be familiar to you through pop culture and movies. Quote from Wikipedia:
A dead man’s switch is a switch that is designed to be activated or deactivated if the human operator becomes incapacitated Wikipedia
Ldms do achieve this behaviour by monitoring USB devices, temperature and network. If unexpected behaviour is detected the switch is triggered.
Why would you want to use a dead man’s switch? The main goal when designing this program was to protect encrypted partitions, by unmounting them, clearing ram and finally shutting down the machine. The applications that came to my mind first were a home server and a laptop. A home server obviously would be sitting alone most of the time, and a malicious person with physical access to the machine could be able to extract data, even from encrypted partitions with a cold boot attack. The same goes with the laptop, but the environment could be different.
Ldms isn’t the first of its kind, there have been dozen similar programs, but none of them is maintained anymore. Here is a list of what I found for those who are curious:
- https://github.com/0xPoly/Centry
- https://github.com/qnrq/panic_bcast
- https://github.com/defuse/swatd
- https://github.com/wille/usbwatcher
- https://github.com/hephaest0s/usbkill
- https://github.com/ncatlin/lockwatcher
Let’s begin with the installation. I’ll be installing ldms from the source, but you may use a package if there is one available. The first step is to get the source code. The easiest way is to clone the repository from GitLab, but you can also download a tarball.
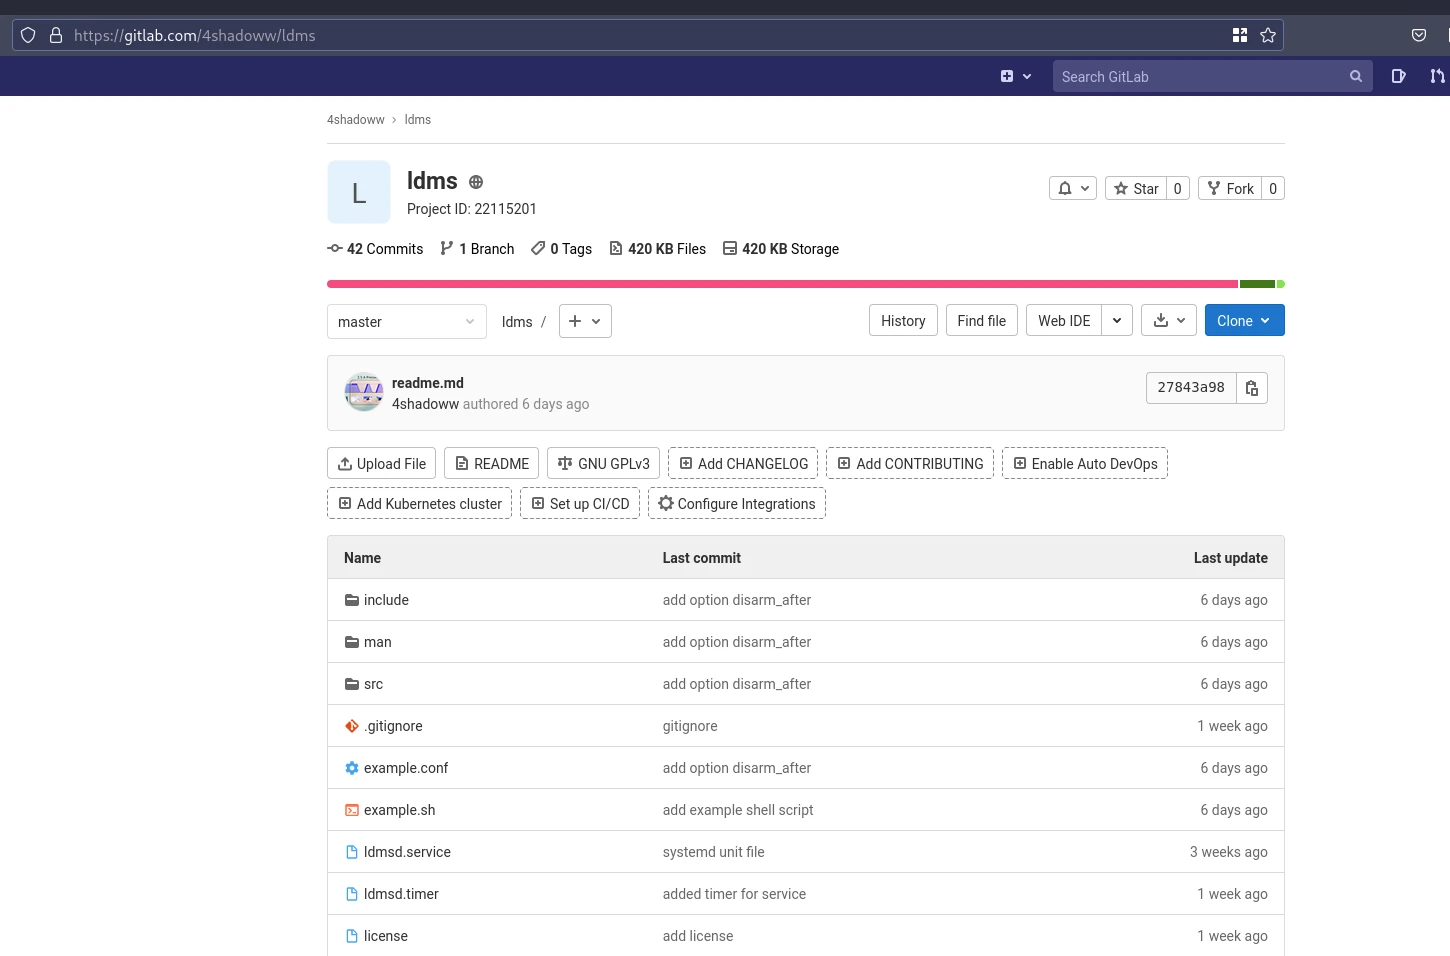
You can clone the source code by the following command:
$ git clone --depth=1 https://gitlab.com/4shadoww/ldms.gitThe next step would be compiling the source. Before that, you want to make sure you have installed the dependencies. Most of them should be already installed, but chances are you may not have libsensors (lm_sensors). Also, remember to install headers for the libsensors, some distributions have a separate package for those. For example, raspberry pi OS has “libsensors4-dev” for development. Usually, Debian based distributions have separate development packages. On Arch Linux, you’ll not have separate development packages.
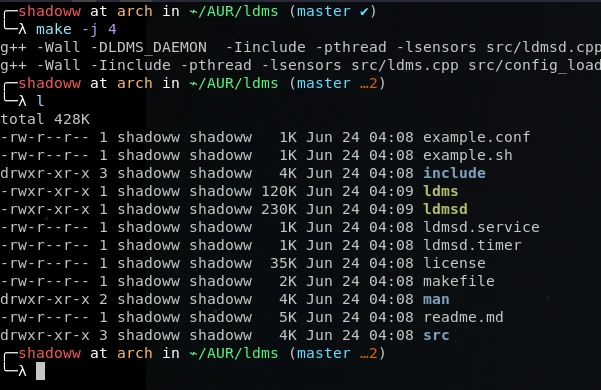
To compile the source code run the following command:
$ make -j 4After compiling the source you should have two executables: ldms and ldmsd.
At this point, you can explore and test the program, but you may want to install it. Run the “install” target with the following command:
$ make install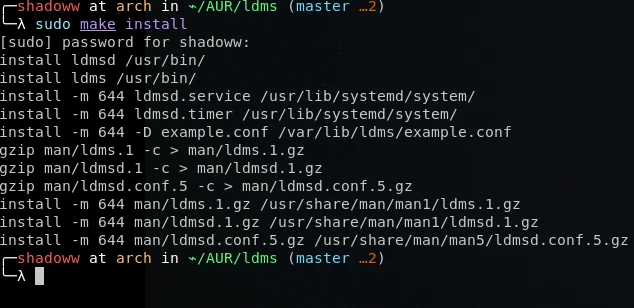
If you want later to uninstall ldms there is also an “uninstall” target:
$ make uninstallUninstall target will not delete the configuration files from “/etc/ldms/ldmsd.conf”.
Next, let’s take a look at the default configuration file:
# Example ldms daemon config (C) Noa-Emil Nissinen 2021
# Man page available ldmsd.conf(5)

# General #

# command
# Default value: echo "dead man's switch triggered"
command = echo "dead man's switch triggered"

# lock_path
# Default value: /var/lib/ldms/switch.lck
lock_path = /var/lib/ldms/switch.lck

# disarm_after
# Default value: true
disarm_after = true

# modules
# Default value:
modules = usbevents lm-sensors network

# logging
# Default value: true
logging = true

# Usbevents #

# ue_triggers
# Default value:
ue_triggers = add bind change remove

# ue_whitelist
# Default value:
# ue_whitelist = 1

# Lm-sensors #

# sensors
# Default value: auto
sensors = auto

# temp_low
# Default value: 15
temp_low = 15

# sensors_update_interval
# Default value: 500
sensors_update_interval = 500

# Network #

# disallow_new_interfaces
# Default value: true
disallow_new_interfaces = true

# network_interfaces
# Default value:
# network_interfaces = enp7s0
Please note there is already a pretty well-documented man page “ldmsd.conf(5)”. So I’ll only cover the most important points on this file.
Let’s first look at the “general” section. The “command” and “lock_path” variables should be pretty self-explained. The “command” defines the command ran upon triggering. The “lock_path” is the path to the lock, and it can be left unchanged usually. The “disarm_after” variable does tell if the daemon program disarmed after the triggering event. This is very useful if you don’t want to spam the command. Finally the “modules” variable tells which modules are enabled and loaded.
Here is an example of a shell script that could be used as the command:
#!/usr/sh

# example.sh
# Unmount the drive
umount /mnt
# Close drive
cryptsetup close drive
# Clear PageCache, dentries and inodes
sync; echo 3 > /proc/sys/vm/drop_caches
# And finally shut down
shutdown now
Obviously, when testing and configuring you don’t want to use a command which shuts down the whole machine.
Ldms uses glibc’s syslog function to write log. If you have systemd, you can view the logs with journalctl.
$ journalctl -f _COMM=ldmsCurrently, there are available three modules: usbevents, network and lm_sensors. Usbevents monitors the USB devices. The network module monitors network interfaces. Lm_sensors module monitors devices temperatures.
Configuring the usbevents module is pretty straightforward. “ue_trigger” variable contains a list of actions that will trigger the daemon. With the “ue_whitelist” variable you can whitelist devices with their bus ids. You can list bus ids with the following command:
$ lsusbLm-sensors monitors temperatures, and when temperatures below the “temp_low” variable are observed the module triggers. Please note “temp_low” variable’s value is in Celcius degrees. The “sensors” variable contains the word “auto” by default which means auto configuration. This should be fine if you don’t want to exclude some sources.
It’s important to define the network interfaces that are monitored. The network module will trigger when changes are made to the monitored interface. For example, if the ethernet cable is unplugged.
Next, I’ll be covering basic usage. “ldms” is the command to arm and disarm the daemon. Ldmsd is the daemon program that you should start with systemd, not with screen etc. Still, it could be a good idea to run the daemon without systemd when testing the usage.
# systemctl start ldmsd
# ldms arm
With the above commands, the daemon is started and armed. If you want to enable the daemon in the boot, you can do that with “ldmsd.timer”.
# systemctl enable ldmsd.timerThe timer starts the daemon after one minute when booted. One minute delay is important because you might be caught in an endless loop of start-up and shut down with a certain configuration. My recommendation is to not enable the timer and only start the daemon manually when needed. You want to think about it very carefully when it’s armed. Accidental triggers will turn out to be very annoying.
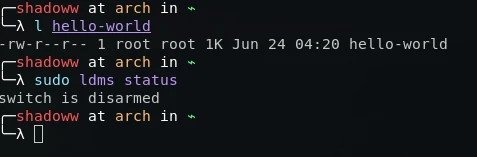
Here is an example of triggering the daemon. In the picture below you can see the file “hello-world” which was created with the command “touch /home/shadoww/hello-world”. Also after the daemon is disarmed after this.
I will end the article here. For further reading, I recommend looking at the man pages and help pages of the programs.